- Screenshot of 20 collected images
- photo of 3 Thumbnail sketches (End of class 3/20/2017)
- 1 page sketch with full detail (End of Class 3/20/2017)
Friday, March 24, 2017
Throwing on the Wheel: Due 3/24/2017
- Photo of you on the wheel
(No picture)
- Photo of your finished piece (even if you end up recycling it)
- Explain the process of throwing.
1. Wedge Clay
2. Throw your ball of clay in the center of the wheel
3. Push the ball down and make sure it doesnt slide off
4. Center the clay by spinning the wheel and pushing down and on the side of it.
5. open up the clay by slowly pushing down on the middle and pull out
6. Pull up the sides
7. Shape it the way you want.
8. Finish
- What difficulties did you have trying the wheel? The hardest part for me is centering the clay.
- What did you find successful? My shape and pulling up the walls worked really well.
Masking Tape Shoes: Due- 3/20/2017
- Explain the process start to finish. I cut up note cards to form the shape of the bottom of the shoe and then I wrapped tape around repeatedly until it was thick enough. Then I made the strap across and attached it by wrapping tape around it again. Then I made the big toe strap and super glued it to the bottom.
- What do you find successful about your piece? The shape and it was clean cut not messy.
- What would you change? How was it unsuccessful? I wish I made it bigger. I also wish that I had added more detail.
Thursday, March 23, 2017
Unconventional Material Challenge: Due- 3/15/2017
- Brainstorm page
- 1 page sketch
- 2-3 photos of your piece from several angles
- What material did you have? I had origami papers.
- What made it hard to work with? It was hard to fold it symmetrically because if you were off just by a little it messed up the rest of the folds.
- What did you make and and why? I made a koala face and a giraffe because they looked cute and had a zoo theme to it.
- How is your piece successful? They turned out well and looked like the thing I based it off of.
Pit Fire - Due: 3/15/2017
Learning Techniques Post (Group Work)


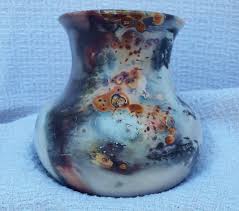

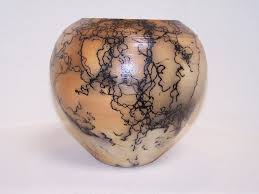
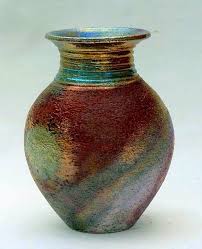

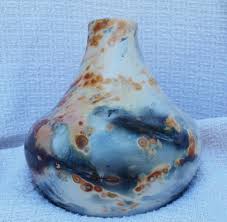
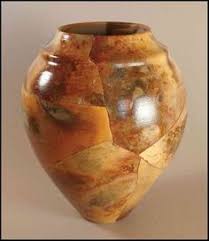
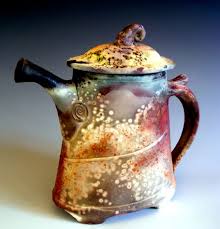
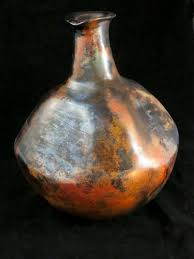
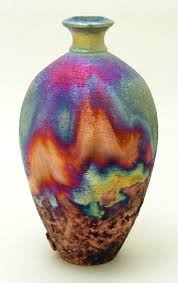
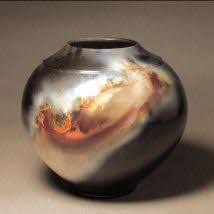
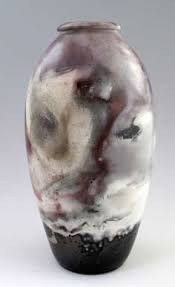
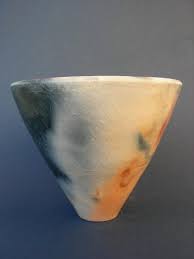

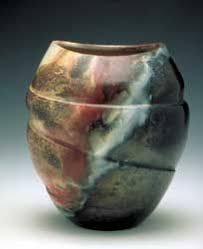

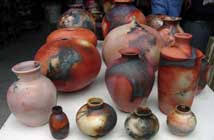
2. How do you feel your piece was successful and how might you change it if you were to make it again?
I think this is one of my better pieces, The shape turned out well on the wheel and the colors are more vibrant than I expected. I would make it bigger and try to add more fun colors like blue, pink, and green.
- Photo of each tutorial page *See Maddie Magenaro's blog*
- What technique do you think you'll use for your pit fire piece?
I think I would use the coil method.
- Who did what in the group? How was the work divided? Everyone did equal work and each picked one piece to do.
- In process photo (greenware or biqueware)
- 20 inspirational images screenshot
- sketch
- 3 photos with backdrop from different angles
- Explain the process of pit fired ceramics and saggars.
2. How do you feel your piece was successful and how might you change it if you were to make it again?
I think this is one of my better pieces, The shape turned out well on the wheel and the colors are more vibrant than I expected. I would make it bigger and try to add more fun colors like blue, pink, and green.
Sunday, February 19, 2017
Relief Project - Due: Feb. 14, 2017
What did you find challenging about each one?
Clouds: This was interesting because they are so many different types of clouds. Some are big and fluffy and others and thin and
Rock: This was the easiest one to make because of the different kinds of texture different kinds of rocks have. Even some rocks have both smooth and rough textures so it was easy to turn that into clay.
Fur: This was the hardest one because fur is an interesting texture to see it is more from the touch so trying to make that into clay was harder. I tried to picture dog fur with the long strands of hair.
What did you find successful about your tile piece and cardboard piece? (15pts)
I really think my melting glass and paint colors worked really well on my tile piece. My background on the cardboard after painting it looked very clean and made the pieces I glued on pop more.
What might have you changed if you were do it again? (15pts)
I would've made my border on my title more even and straighter. I also would've made my glued on pieces on my cardboard have more detail.
What subject did you pick for each piece and why? (15 pts)
I picked a garden for the tile because I wanted to use bright colors and I picked an underwater subject for my cardboard because of someone else's work that I enjoyed.
Inspired Artist Post - Due: Feb 1, 2017
Artist; Maki Okamoto
Website: http://makiokamoto.com/
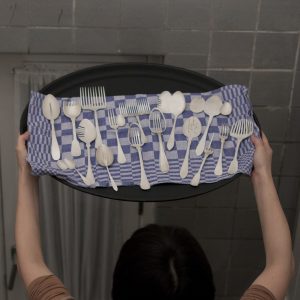
Maki is an artist who is born in Japan, live and work in Sweden. He explores the field of corpus and contemporary jewelry with his sculptural background. The ability which he got thorough working in the sculpture field creates pieces with balanced proportions and contrasting volumes. He has made work out of spoons, forks, cups, mirrors, and more home objects. The pictures below caught my interest because of how he combined two normal objects into one and made it art.

Subscribe to:
Posts (Atom)


